


I LOVE light overlays! I love the creative freedom that they give me, and I love the little bit of added magic they can provide to an image.

This post may contain affiliate links. This means that I may earn a small commission at no extra cost to you. I only recommend products and brands that I use and love.
Steps To use a Light Overlay.
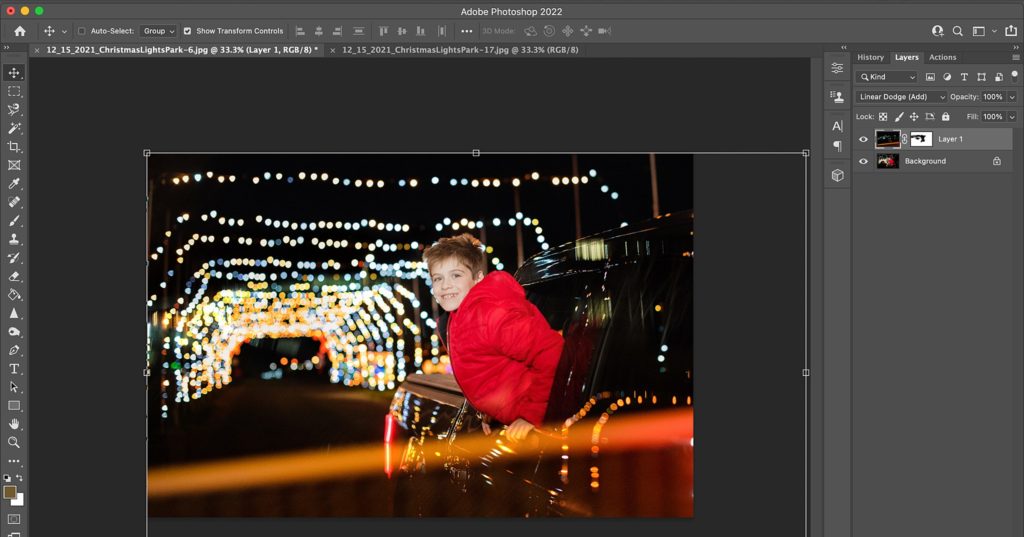
1. Open your original image in Photoshop
2. Open your light overlay in Photoshop and select all
3. Copy and paste your light overlay onto your original image
4. Resize the light overlay, if needed to fit over your image. (Be sure to click the link icon, to maintain the proportions of your light overlay while resizing.)
5. Change the Blending Mode of the light overlay layer. If the overlay is mostly black and the “light” is the only part I want to keep, I will most often use Linear Dodge (add). Other frequent ones I use are Overlay, Soft Light and Screen. I would just click into the Blending Mode and then slow click down through the Blending Modes to see which one you like.
6. If needed, I will apply a layer mask to my light overlay layer, and then with a black brush, slowly paint over the sections of the overlay that I do NOT want to have show up on my image – usually I do this if part of it is distracting from my subject.
7. You can also play with the opacity of the light overlay if the effect is too strong for your taste.
There is no right or wrong! So just play around and HAVE FUN!
Video Tutorial on How to Add a Light Overlay in Photoshop
Here is a quick video tutorial showing the process:
Free Light Overlays for Photographers
And just for fun… I’d love to give you three FREE light overlays that you can play around with!
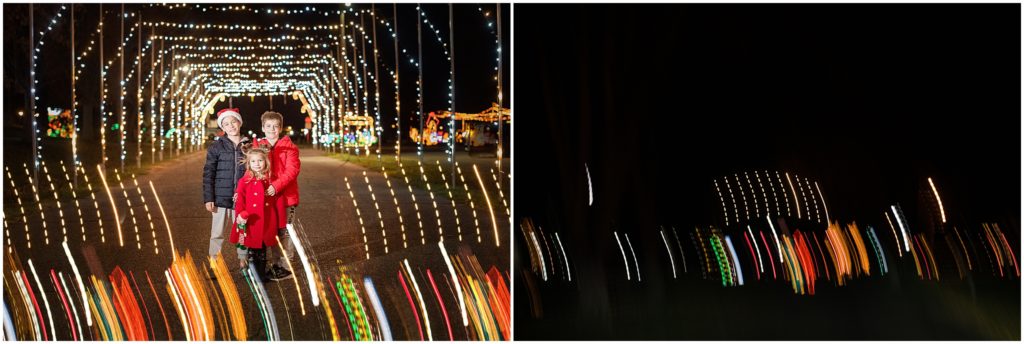
Here are the thee overlays included and some examples where I used them:
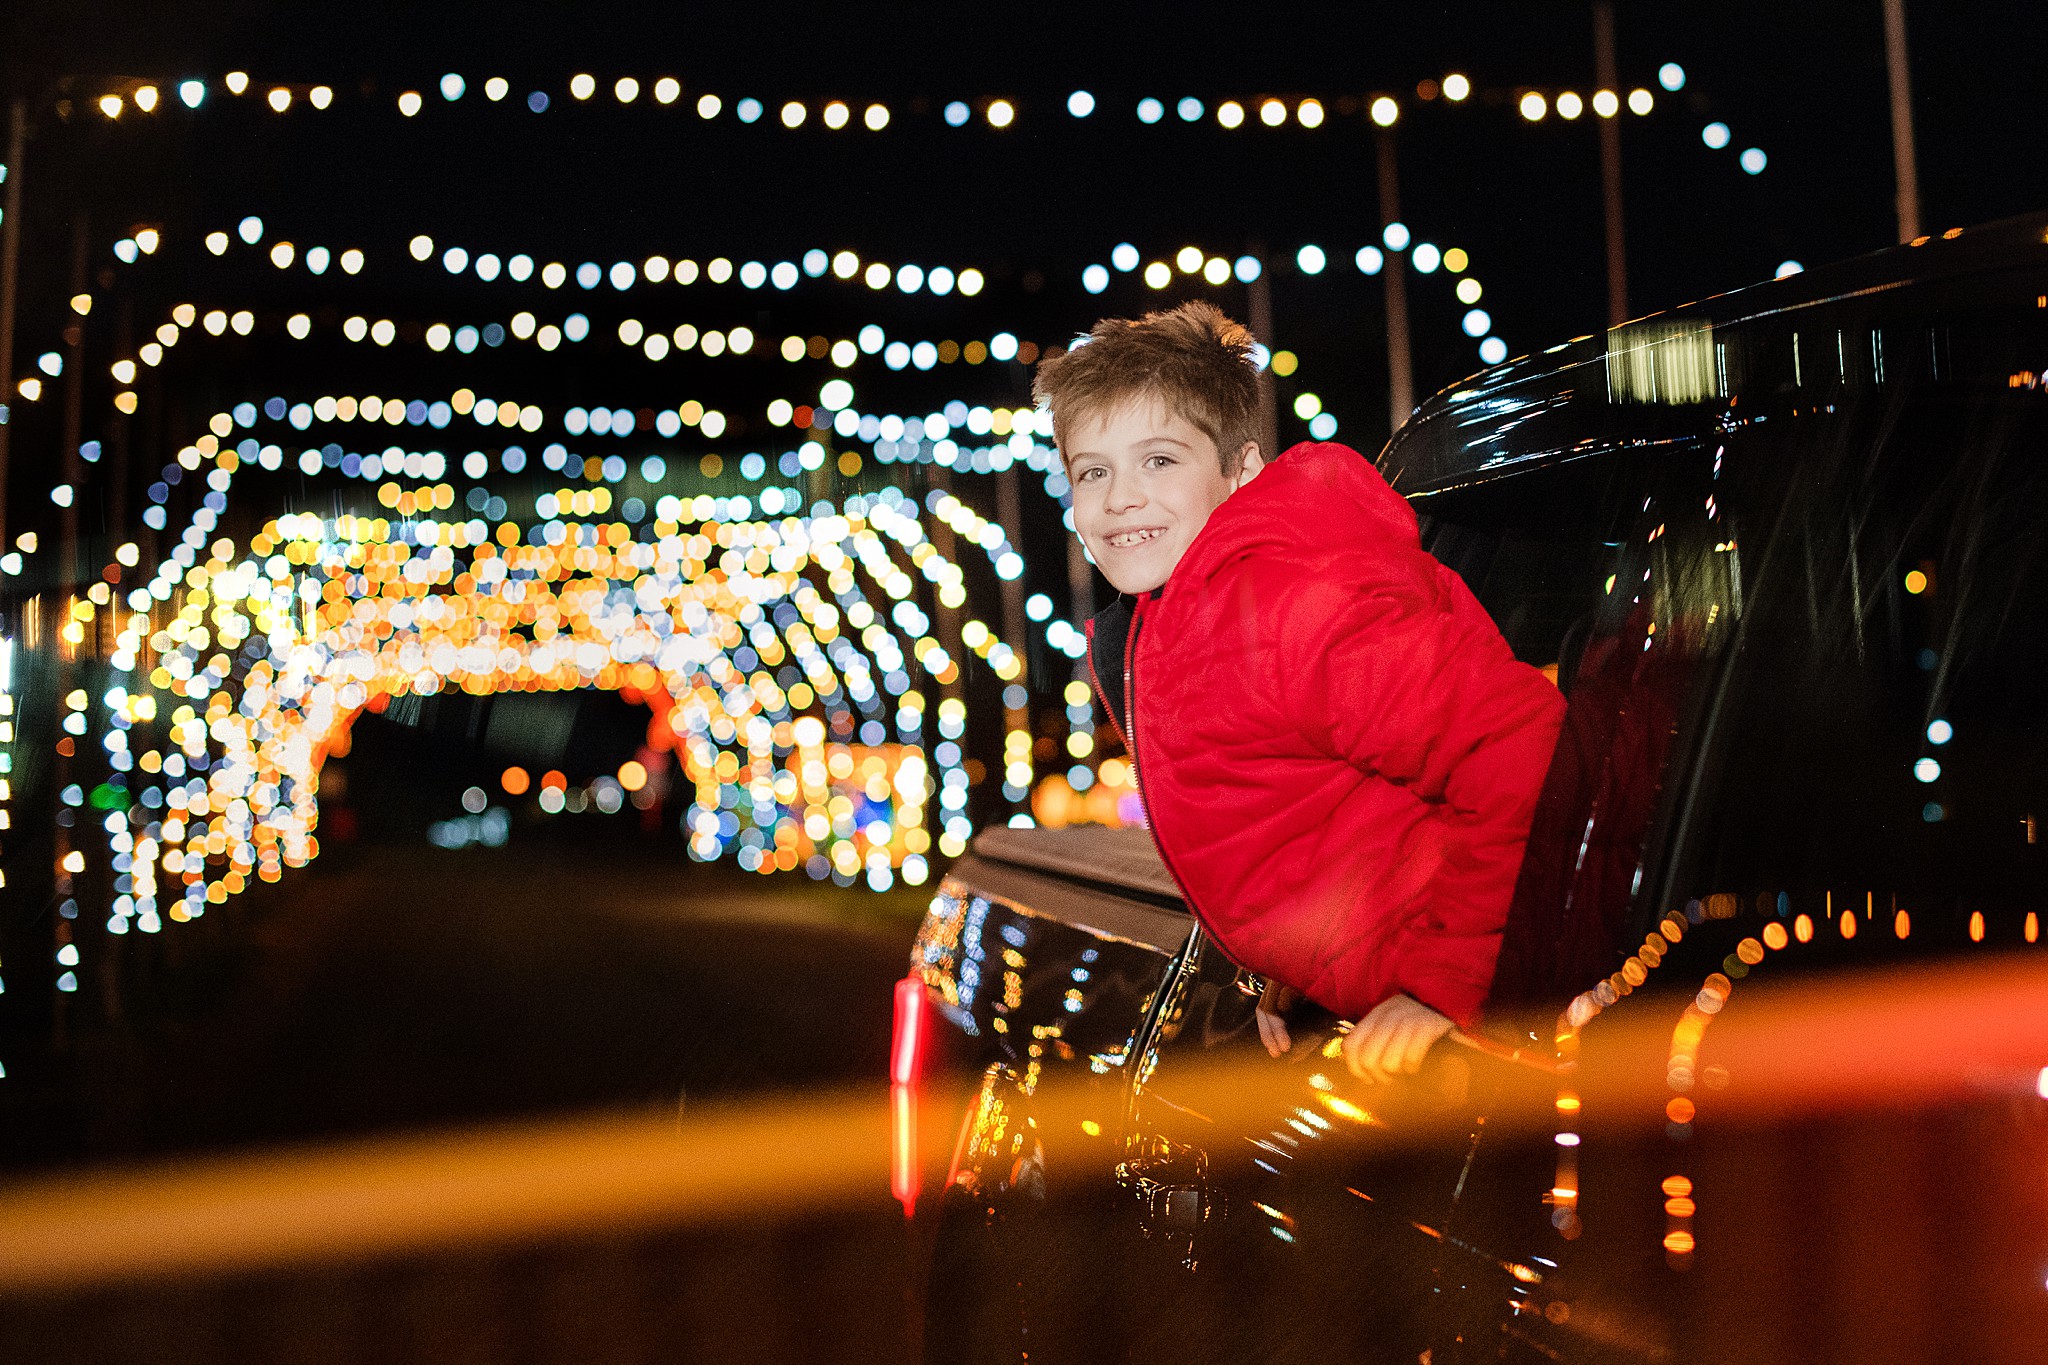
Note: I did mask the middle bokeh off of him for this example. Blending mode – Linear Dodge (add)
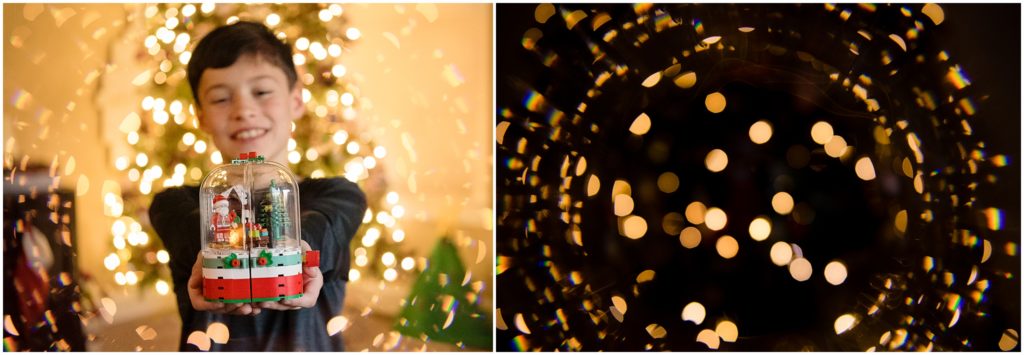
Note: I used blending mode of Screen for this example, and I actually used the light overlay twice to add some balance to the image.
If you have ANY questions, please don’t hesitate to ask! And if you use the overlays, I would LOVE to see! Please feel free to share here in this thread or tag my on IG @loripickens
Photography Gear for Light Overlays
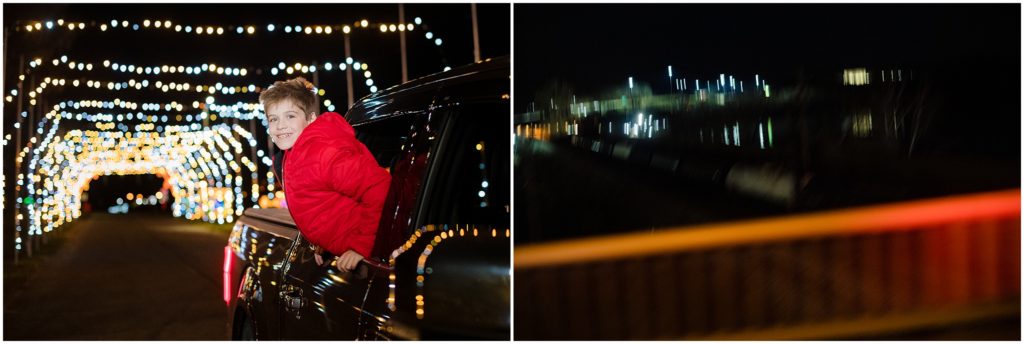
For my photographer friends out there… the light tunnel photos were taking with my Nikon D5 and 24-70mm lens. I used my Profoto B10 with a grid to light up their faces. For the one where my son is leaning out the truck window, I was actually just holding the light with my left hand out to the side and the camera in my right. For the one with all three kids, I used my ‘hubby-light stand’ to hold it up above his head directed at them.
The image with the lego Santa Globe was taken with the Lensbaby Twist 60. I LOVE this image for shots like this that are centered focused and just direct all the action to the middle of the twist – which also works great with the circular light overlay (created with a circular prism). You can shop LensBaby here are use code wPickens at checkout for exclusive savings!
You can also find my favorite gear on my Amazon Store.
Other Resources for Photographers
I have a few tools in my toolbelt that will help you grow into the photographer you’ve always wanted to be! Whether you are prepping to be a Click Pro Elite or you are just ready to start leveling up and making new goals check out these resources to help you grow!
Becoming A Click Pro: a Self Paced Course
Must Have Tools for your Photography Business
What’s in my Bag – Cameras, Lenses, and More
Fearless Indoor Light – a Self-Paced course
Film Challenge
(for the challenges, you must be in the Click Community)
Be sure to follow me on Instagram, Facebook, and Pinterest for more tips, tricks, and resources for photographers!


