Silhouettes have long been a captivating aspect of photography, drawing both amateur and professional photographers alike to explore their mysterious allure. These faceless figures tell a story that invites viewers to fill in the blanks with their imaginations, making each photograph an engaging and unique experience. Mastering the art of silhouette photography can elevate your portfolio and provide you with a deeper understanding of light, composition, and storytelling in your work. To help you on this journey, we’ve compiled essential tips and techniques that will guide you towards creating stunning silhouettes in your shots, whether you’re a seasoned photographer or just beginning your adventure in photography education. Let’s dive into the world of silhouettes and unlock the creative potential they hold.


Get Low
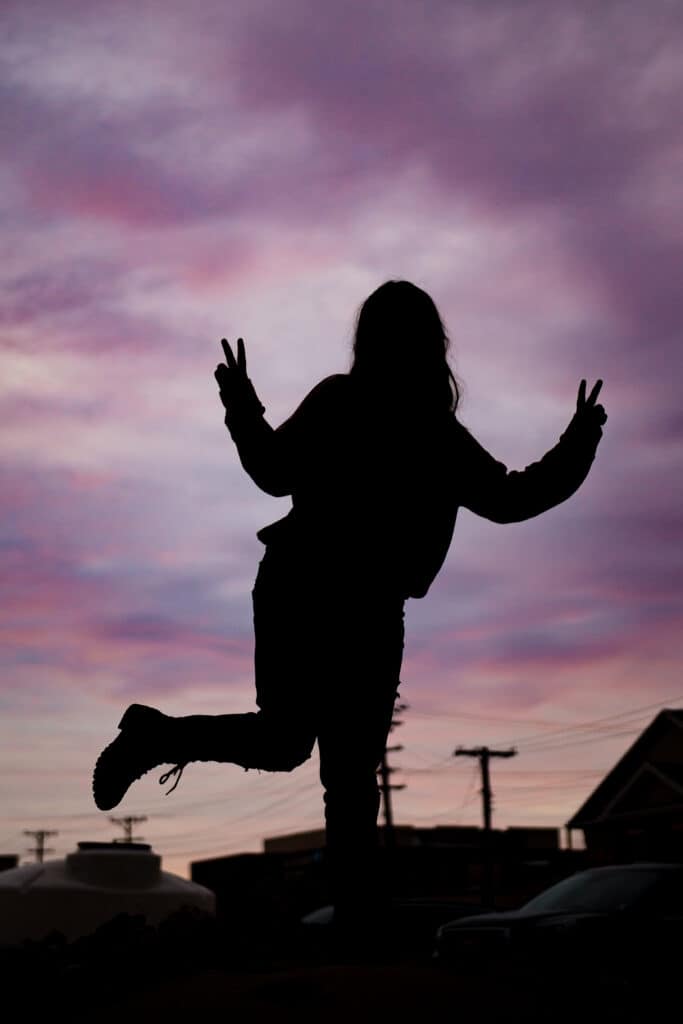
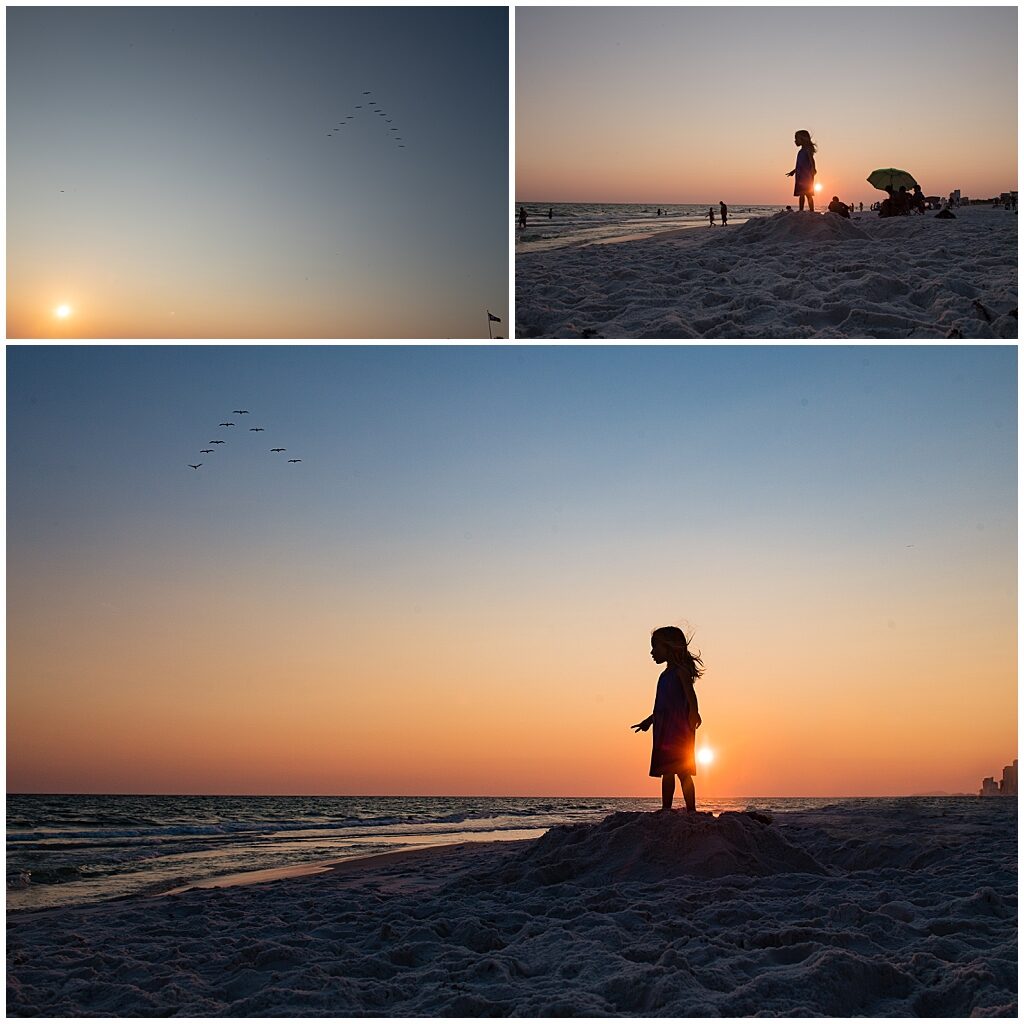
If you are hoping to get a full body silhouette or at least one with less distractions around it, the easiest way is to get low or place your subject on a higher plane than you. This can be the crest of a hill, or have your subject stand on something that puts them in a clear in front of the sky.
Most of the time, I will lay flat on the ground to shoot up at my subject.

For both of these senior images, we just found a nearby wall or object they could stand on.

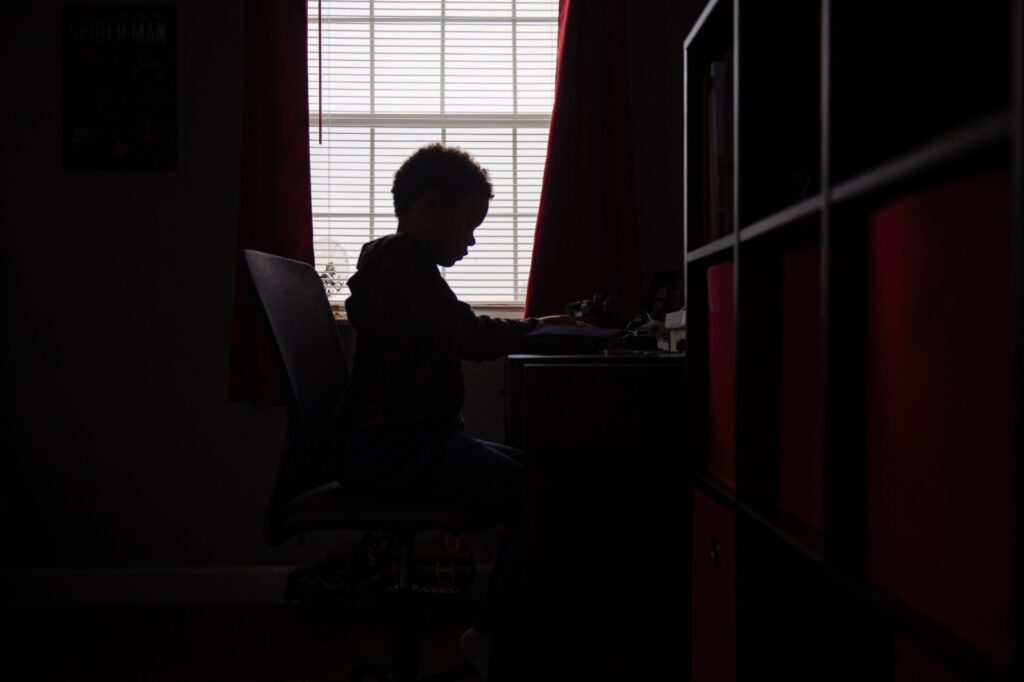
Indoors, you can get low and frame your subject in front of a window or doorway.
Expose for the Sky
I almost always have my camera setup for spot metering, so for a silhouette, I will expose for the sky, knowing it will place my subject in darkness.
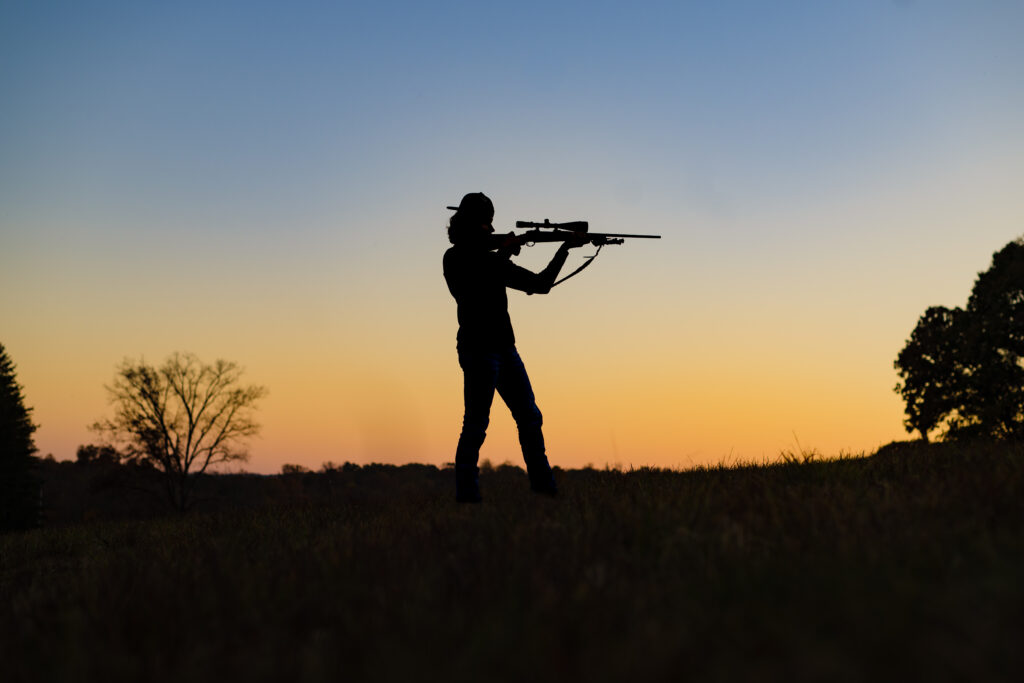
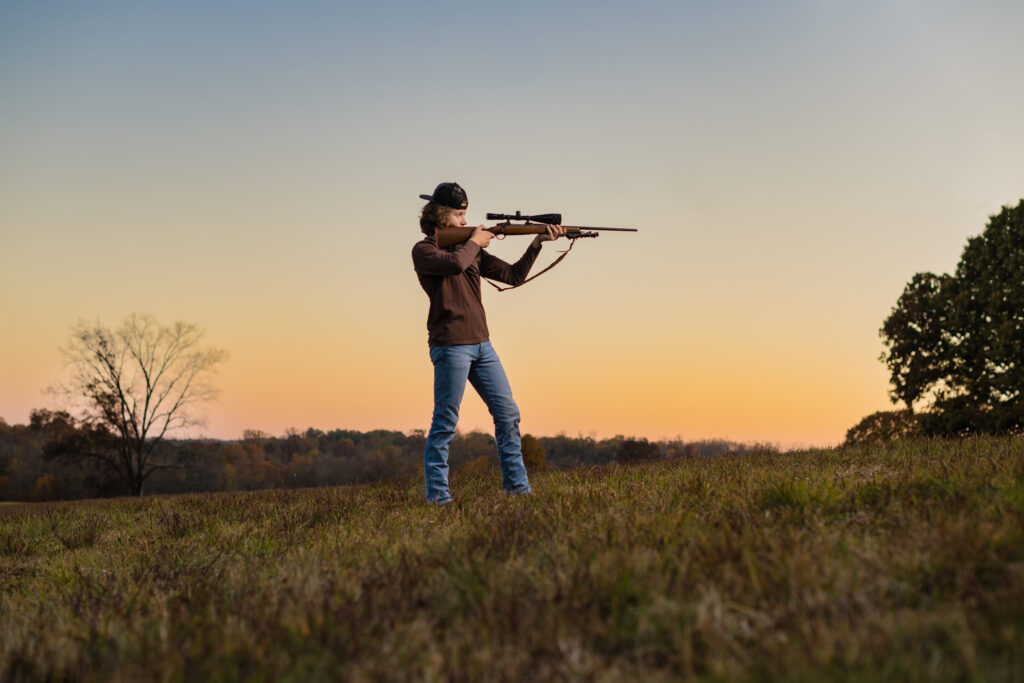
PHOTO TIP: An easy way to get variety in your work, is to expose one image for the subject and another for the light behind them.
Enhance your image in Post Processing
While I am a big propoent for getting an image as close as you can in-camera, there are some great ways to enhance a silhouette in post processing. A few examples of this include:
- Enhancing the colors or vibrance of the sky (or even swapping the sky for one more exciting)
- Darkening your subject
- Remove distractions in the image
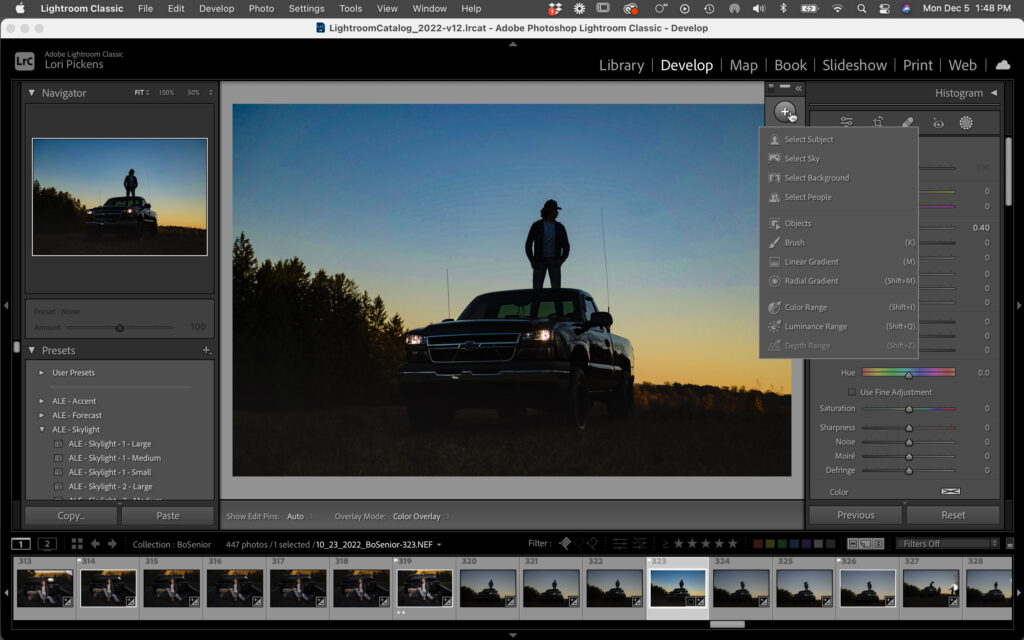
If you have not upgraded Lightroom to take advantage of the new AI masking tools… this is your encouragement to do so now! It makes selecting your subject or sky/background so darn easy!!!
Experiment with Light Overlays and Double Exposures
Silhouettes can be fun to play with and use light overlays. I loved this image but felt the trees were too close and distracting to make the silhouette feel as powerful as I wanted it to.
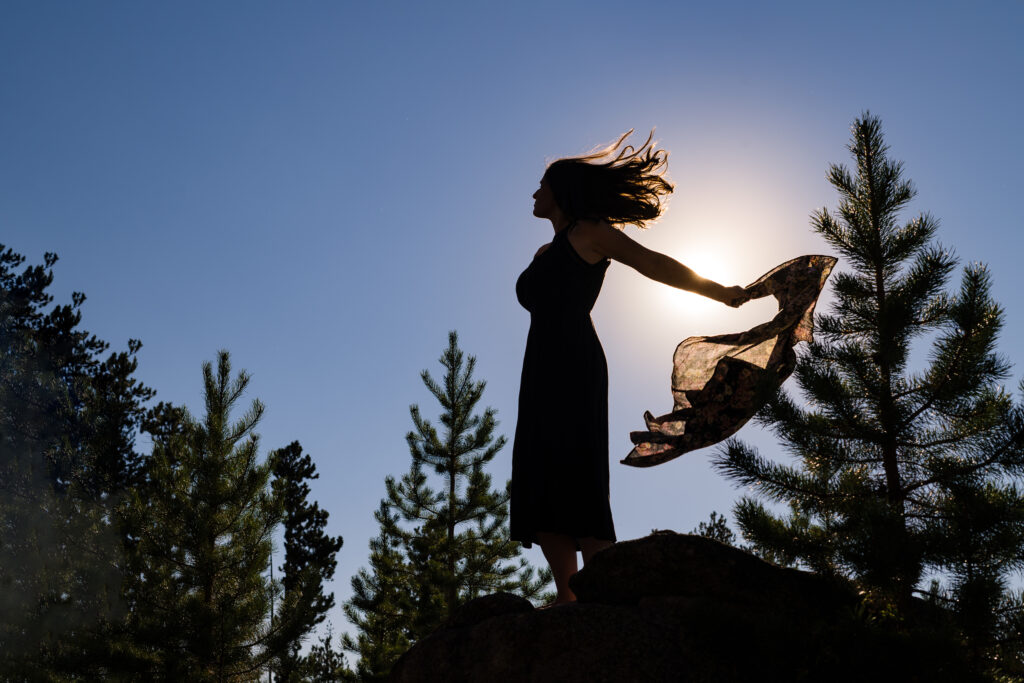
After extracting the silhouette and darkening it, I played with some light overlays to add drama.
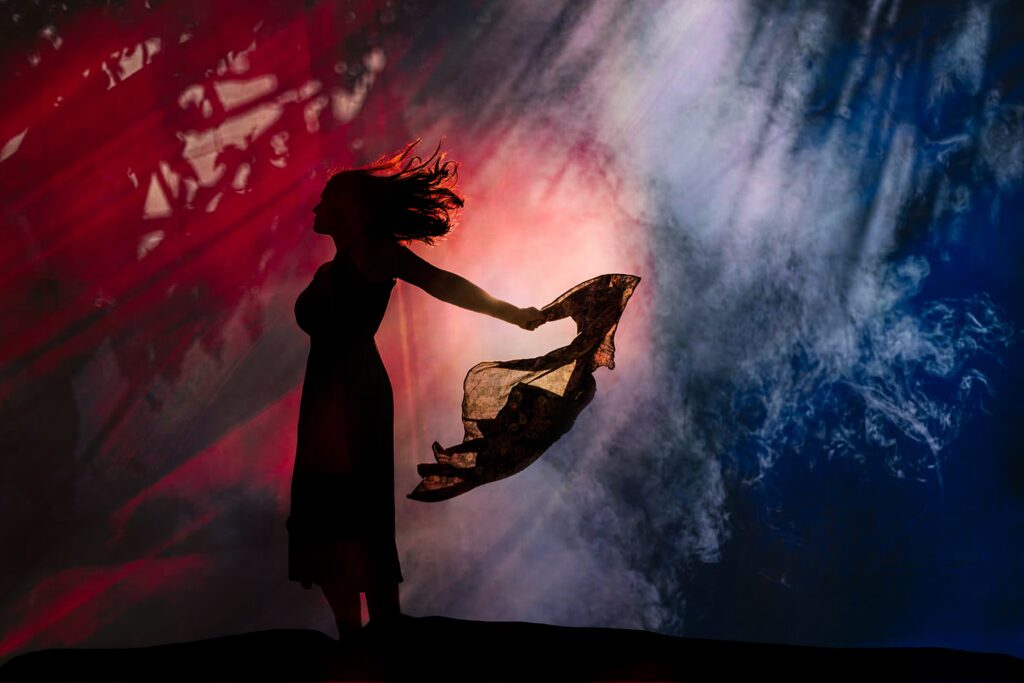
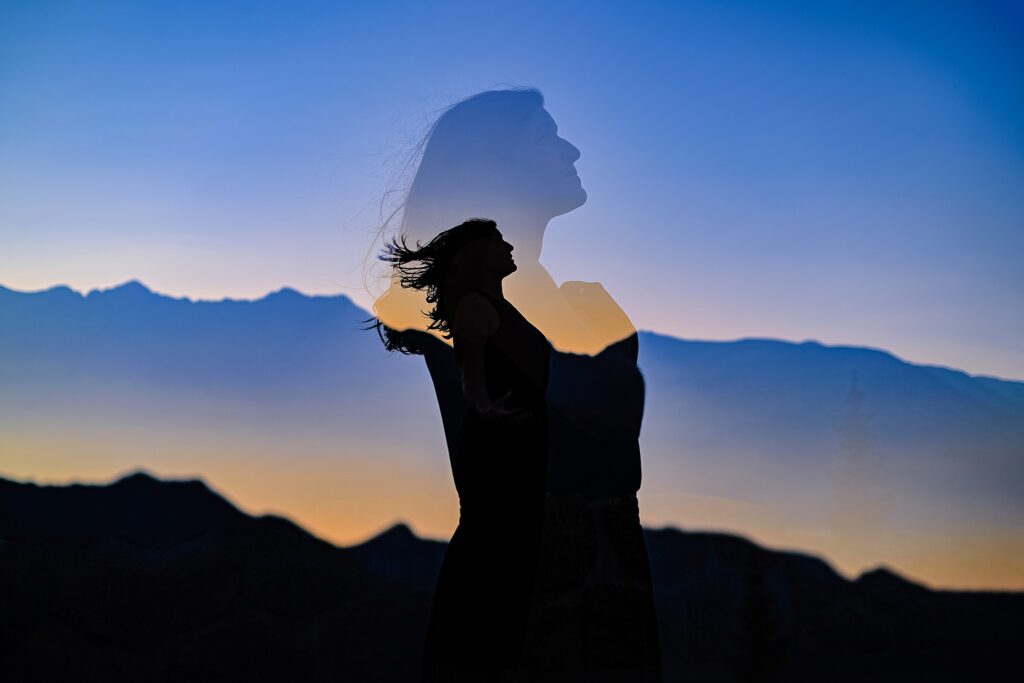
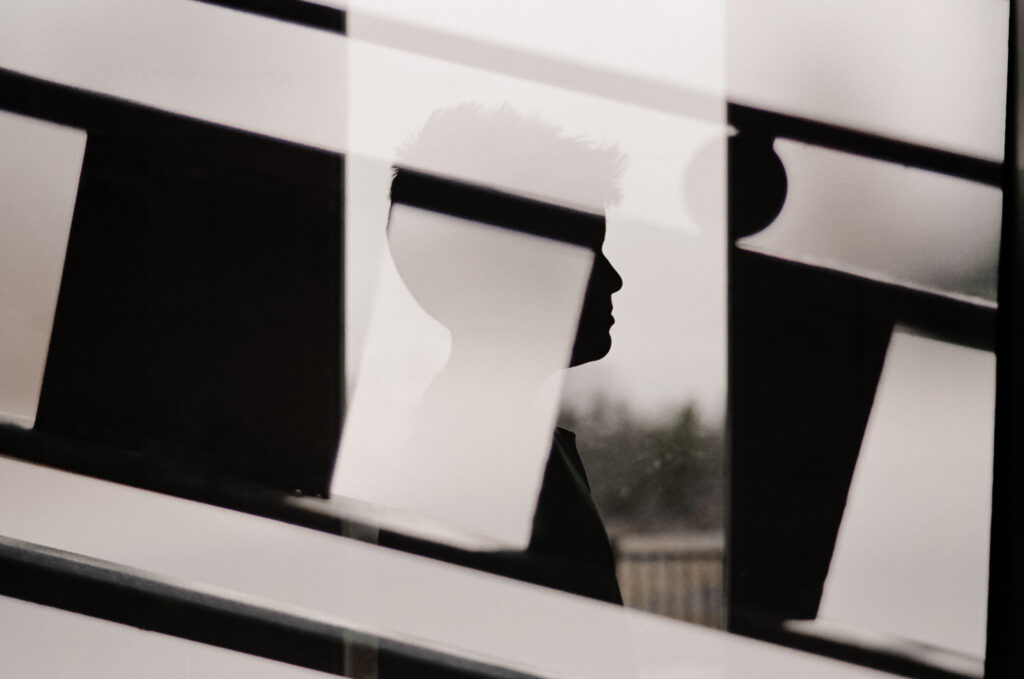
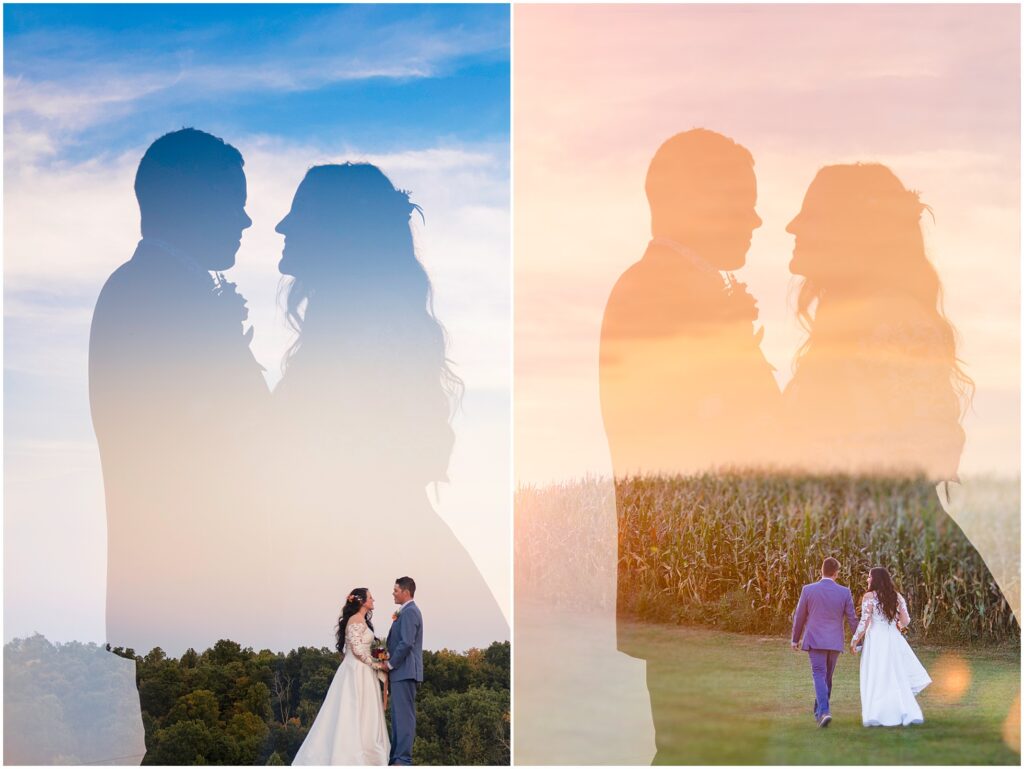
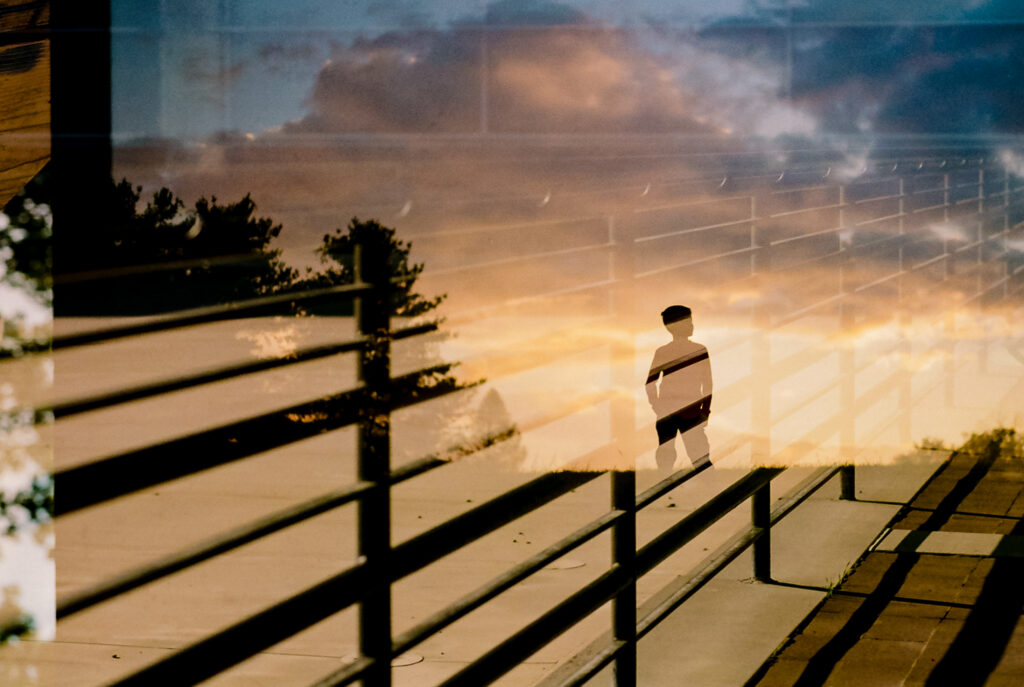
Silhouettes also make some of the coolest double exposures!
Don’t Limit Yourself to Golden Hour
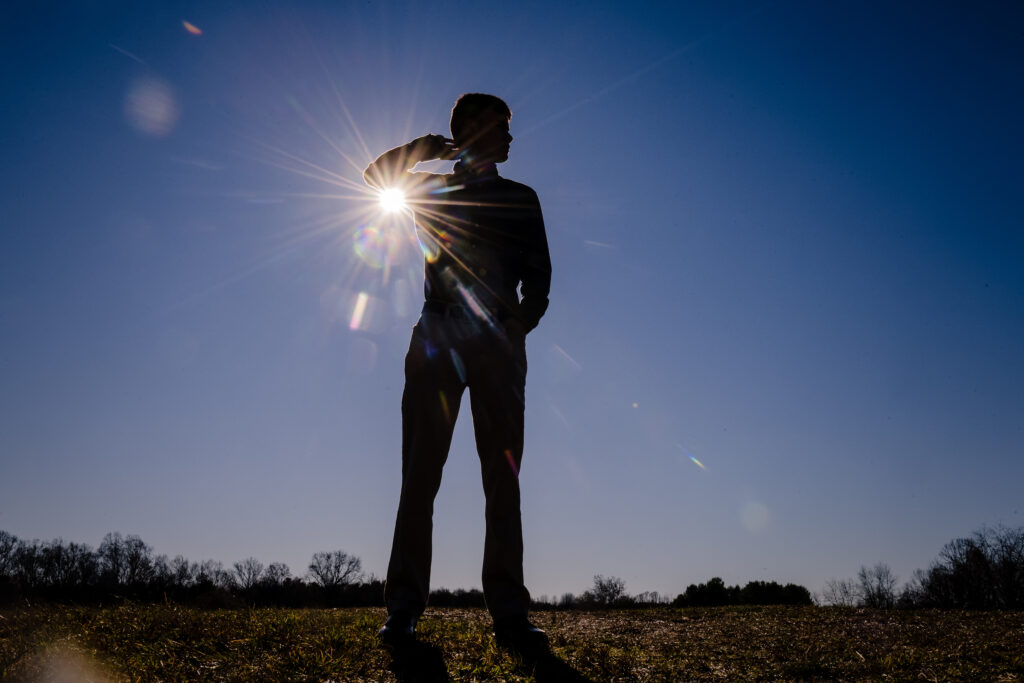
While silhouettes might be easiest just after golden hour when the sun is low, do not let that limit you for when you create silhouettes. I will often position myself so the sun is directly behind my subject to create the silhouette or even some fun rim light/flare.
This image was taken at 11am. SS 1/250, f/22 (to create that flare)
I hope some of this has inspired you to play more with silhouettes. Even if you are a seasoned pro, push yourself to make a more creative silhouette or capture one in a time of day or environment you might not normally think about. I’d love for you to share any of those here with me and let me know if you have ANY questions about settings or how an image was created. ❤️
OTHER RESOURCES FOR PHOTOGRAPHERS
I have a few tools in my toolbelt that will help you grow into the photographer you’ve always wanted to be! Whether you are prepping to be a Click Pro Elite or you are just ready to start leveling up and making new goals check out these resources to help you grow!
DOORS NOW OPEN: Becoming A Click Pro
Must Have Tools for your Photography Business
What’s in my Bag – Cameras, Lenses, and More
Fearless Indoor Light – a Self-Paced course
Film Challenge
(for the challenges, you must be in the Click Community)
Be sure to follow me on Instagram, Facebook, and Pinterest for more tips, tricks, and resources for photographers!
MEET LORI PICKENS, PARKERSBURG, WV PHOTOGRAPHER
Lori Pickens is a Mother, Wife, and Tech Geek from Parkersburg, WV. She is a true lifelong local and has been photographing in the area for over a decade. Lori is also a Click Pro Elite and Click Community Mentor. When she’s not capturing pictures or spending time with her kids, she enjoys organizing her lists and spending time on her family farm!
