


Join me as we step into a world brimming with nostalgic allure and endless creative potential: film photography. On this episode on Photo Goals with Lori Pickens, “Beyond the Digital: A Beginner’s Guide to Film Photography,” is your perfect companion, whether you’re an adept digital photographer keen on exploring new horizons or a newcomer eager to delve into the analog universe.
This post is crafted just for you. Engage with me as we uncover the distinctive charm, the thoughtful process, and the pure joy that film photography brings. If you’re looking to broaden your photography skills by embracing the timeless art of film, this episode-turned-blog-post is your essential read.
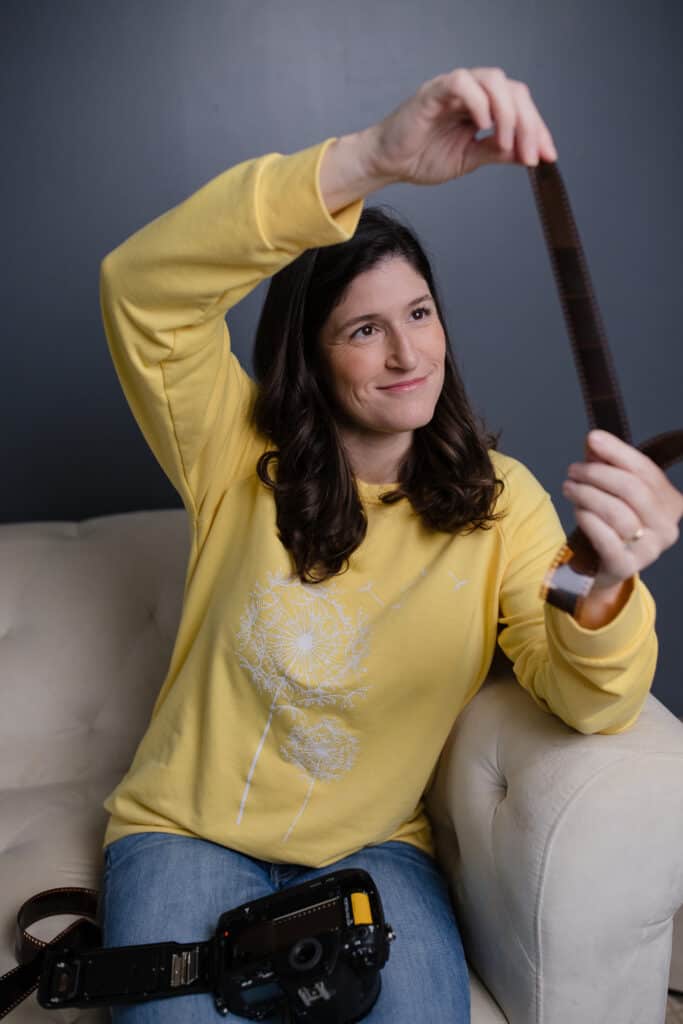
I suppose you could call me a hybrid photographer. I still shoot a lot of my images with my mirrorless/DSLR, but film has certainly captured a special place in my heart. There’s just this unexplainable, unique quality of images captured on film.
Why Film?
So if you already have a fancy mirrorless camera, why film? I’m not your typical story of, “I started shooting film, switched to digital and yearned to go back.” I started with digital and was fairly successful and comfortable shooting digital. Too comfortable actually… For me, I found my way to film photography searching for inspiration and a new challenge. I feel like I grow the most when I am learning something new, and film was very new and different.
A slower, more mindful approach
Slow down and shoot with intention. The best thing that film has done for me is teach me to slow down and really choose my shots. You will learn very quickly when literally every press of the shutter costs you money, that you need to think through your image and the moments you select. This has even carried over into my digital work, and I find myself spending less time culling, because I am more conscious of the images I do take.
The thrill of anticipation
Not seeing your photos instantly adds a layer of excitement and surprise when you finally develop your film. When you finally develop your film or get your scans back, I can express how much those scans will fill you with happiness. It’s more like a goal that you get instantly versus something that you’ve worked for and looked forward to. You mail this film away and then you wait, and when you finally get that email of happiness has been delivered. It really feels that way that you build this excitement to see what you created, when you don’t have that instant gratification.

Choosing a Camera
Now, let’s equip you with the essentials for embarking on your film photography journey. The world of film cameras offers a plethora of affordable options, with many used models available online or in vintage shops that won’t break the bank. It’s essential to do some research to find a camera that not only fits your budget but also reflects your personal style. For those new to film, the realm of film cameras primarily consists of two types: the 35mm and the medium format 120mm.
For beginners, I often recommend starting with a 35mm camera, particularly from a brand you’re already familiar with. This way, you might be able to use many of the lenses you already own, making the transition smoother and more cost-effective. My own journey into film photography began with a used Nikon F100. Its manual controls were reminiscent of my DSLR, providing a comfortable familiarity, and, importantly, all my expensive lenses were compatible. This seamless integration allowed me to dive into film photography without the need for additional investments in new lenses.
Getting Started Recommendations
Selecting the right camera is crucial to capturing those timeless moments. For Canon enthusiasts, the Rebel 2000 and Elan 7 models are perfect starting points, blending ease of use with sophisticated features. Nikon users, on the other hand, will find the F100 an impeccable choice, renowned for its DSLR-like manual controls and wide lens compatibility.
Understanding Exposure
A solid understanding of exposure is key in film photography, necessitating a deep dive into the exposure triangle—aperture, shutter speed, and ISO. These elements are fundamental in determining how much light hits your film, influencing the brightness and quality of your photos. Learning how these components interact and practicing with light meter readings are essential steps towards mastering film photography.
Important Rule: Film Loves Light
Remember, film has a unique relationship with light compared to digital photography. While digital photographers might underexpose to protect highlights, film photographers often find better results by slightly overexposing. This approach ensures your film captures all the nuances of light and shadow, resulting in beautifully detailed images. Embrace the principle that film loves light, and you’ll unlock the full potential of your analog photography journey.
ISO and Box Speed
Understanding ISO and Box speed is crucial for achieving the desired outcome in your images. ISO, a measure of the film’s sensitivity to light, must be selected carefully at the beginning and remains constant throughout the roll. The Box speed, essentially the ISO recommended by the film manufacturer, provides a guideline for optimal exposure under standard conditions. This information can typically be found on the film box or canister, often integrated into the film’s name for easy identification.
Given film’s inherent affinity for light and its capability to preserve highlight details, photographers sometimes choose to deviate from the manufacturer’s suggested boxspeed. This practice, known as “rating” your film, involves setting your meter to a different ISO than the box speed. By adjusting the rating, photographers can manipulate how much light the film is exposed to, allowing for creative flexibility and control over the final image’s appearance. This technique underscores the importance of understanding and experimenting with ISO settings in film photography, ensuring that each shot captures the photographer’s intended aesthetic and mood.
Selecting Film
Choosing the right film is a pivotal decision in the world of film photography, with each type offering unique characteristics that can significantly impact your final images. For those just beginning their journey or looking for a versatile option that performs well in a variety of lighting conditions, starting with a 200 ISO film is highly recommended. This sensitivity strikes a balance between flexibility and image quality, making it a go-to choice for everyday shooting.Among the myriad of options available, Kodak Portra 400 stands out as a personal favorite for many photographers, myself included. Renowned for its exceptional color rendition and versatility, Kodak Portra 400 has a special place in the hearts of film enthusiasts.
Despite being a 400 ISO film, I prefer to rate it at 200 ISO. This technique involves adjusting the camera’s ISO setting to 200, effectively overexposing the entire roll by one stop. This approach not only harnesses the film’s innate qualities but also introduces a unique aesthetic to the photographs, with softer tones and enhanced light capture. Embracing this method can elevate your film photography, allowing you to experiment and find your creative voice through the medium.
Where to Buy Film?
Navigating where to purchase film for your photography needs can significantly impact the quality and outcome of your images. A trusted source I frequently turn to is Richard Photo Lab, known for their expertise and quality service in the realm of film photography. When my creative endeavors call for more specialized film stocks, B&H is my go-to destination, offering a wide range of options catering to various photographic styles and preferences.For those exploring online avenues, Amazon presents a convenient option with an extensive selection of film. However, it’s essential to exercise caution by thoroughly checking seller reviews to ensure reliability.
Additionally, upon receiving your film, always verify the expiration date to avoid any surprises.Interestingly, shooting with expired film can be a creative endeavor in itself. The general rule of thumb is to decrease the ISO by one stop for every decade the film is past its expiration date. For example, if you have a 400 ISO film that expired ten years ago, consider rating it at 200 ISO. While this requires adjusting exposure, you can also explore push processing during development for enhanced results. This technique, particularly with very old film, may involve a blend of overexposure and push processing to achieve unique and compelling photographic outcomes.
Processing Your Film
After capturing those memorable moments on your first roll of film, you’re now at the thrilling yet intricate stage – developing your film. For photography enthusiasts looking to immerse themselves fully in the analog process, setting up a darkroom at home for film development offers a hands-on experience. Alternatively, for convenience and professional quality, sending your film to a specialized lab is an excellent choice.When your film is ready for development, carefully package it and send it off to your chosen processing lab.
It’s important to follow any specific instructions provided on their website for shipping. These labs not only develop your film but also digitize your images, delivering them to you in jpeg format for easy viewing and sharing.Experimenting with different labs can be insightful, allowing you to compare results and find the service that best matches your aesthetic preferences. However, establishing a consistent relationship with one lab can enhance your photography experience. They can offer personalized advice, adapt scans to your style, and provide feedback to refine your photographic technique.Richard Photo Lab (Richard Photo Lab) is a personal favorite, known for their exceptional customer service and ability to tailor scans to individual preferences.
Other notable labs include The Find Lab, Indie Film Lab, Photo Vision, and Miller’s Lab, all of which offer comprehensive development and scanning services.Additionally, the option to have your film “pushed” or “pulled” during processing allows you to creatively control the exposure of your images. And while film scans might not offer the same level of flexibility as digital raw files, tools like Adobe Lightroom enable photographers to make final adjustments, such as cropping, removing distractions, or fine-tuning the composition, ensuring your film photographs are exactly as you envisioned.
Get Creative
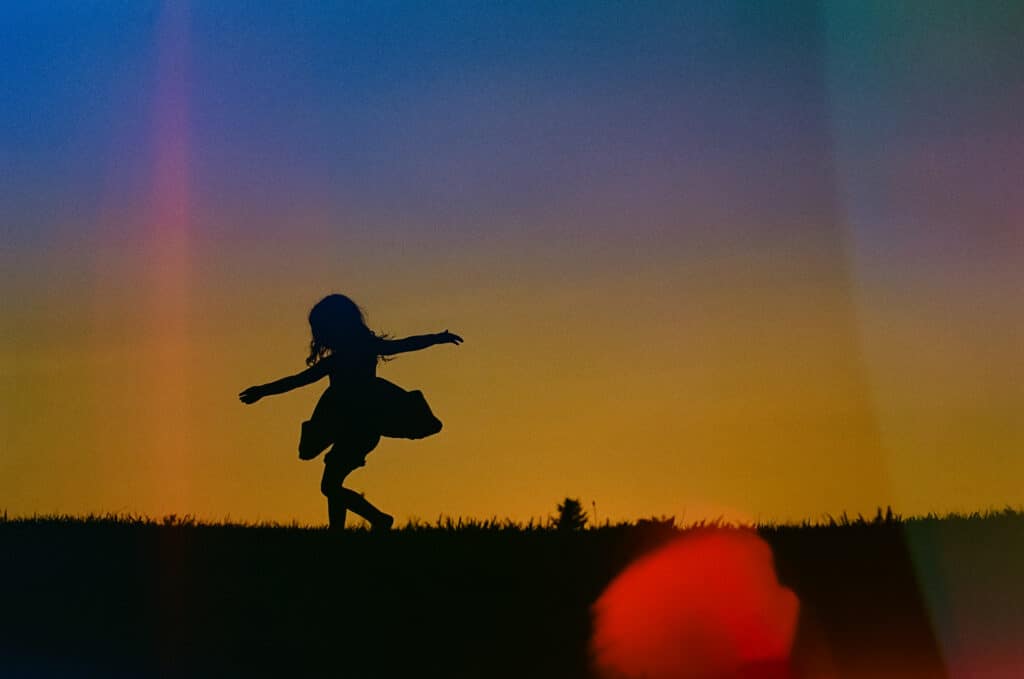
Light leaks
Double exposure / Multiple exposure / Blind Doubles

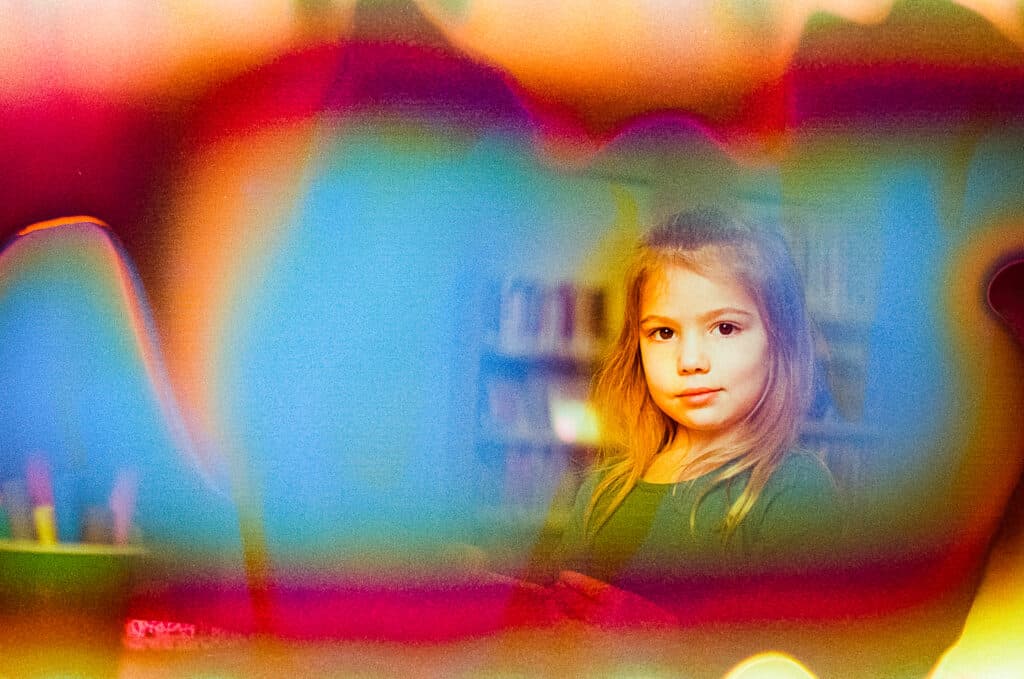
Color negative film – Psychedelic blues, dubble film jelly
Film Soup:
Learning Resources
The internet offers a vast array of resources for learning film photography, from online tutorials and blogs to dedicated YouTube channels. Yet, navigating through this sea of information can be daunting. My course, Intro to Film, stands out by providing structured, comprehensive insights into film photography, packed with practical examples. Learn about various film stocks, understand how to evaluate them, and dive into the realms of exploration and experimentation.
Beyond mastering the basics necessary to embark on your photography journey, this course emphasizes the importance of learning through experience—embracing mistakes, honing your skills, and finding joy in the creative process.If you’re intrigued by the prospect of delving deeper into film photography and eager to discover your unique photographic voice, our “Intro to Film Photography” course is designed for you. It’s geared towards demystifying the art of capturing stunning images on film and fostering a space for growth and enjoyment.
Stay tuned for the official launch of Intro to Film with Lori Pickens, set to enrich your understanding and love for film photography. Visit loripickens.com/introtofilm for more details and to ensure you don’t miss out on this opportunity to elevate your photography skills. Whether you’re just starting out or looking to deepen your existing knowledge, our Intro to Film Photography course is your next step towards achieving your artistic vision.
Embrace the Journey
Remember, film photography is a journey of exploration and experimentation. Don’t be afraid to make mistakes, learn from them, and refine your skills. Enjoy the process, embrace the challenges, and revel in the unique beauty of film photography.
I encourage you to take the leap and delve into the world of film.
Photo Goals with Lori Pickens
Thank you for tuning in to Photo Goals with Lori Pickens. If you enjoyed this episode, I’d be thrilled if you could take a moment to leave a review on the podcast. Your feedback helps me continue to deliver content that you love and helps others discover the podcast too. For more behind-the-scenes and daily inspiration, don’t forget to follow me on Instagram and Pinterest. But that’s not all – if you want to be the first to get updates on upcoming podcasts, tutorials, and all things photography, make sure to join our mailing list. It’s the best way to stay connected and catch all the latest from Photo Goals. I’m excited to have you as part of our community and can’t wait to bring you more engaging and educational content. Thanks again for listening and supporting Photo Goals with Lori Pickens.
MEET LORI PICKENS, PARKERSBURG, WV PHOTOGRAPHER
Lori Pickens is a Mother, Wife, Tech Geek from Parkersburg, WV, and the podcast host of Photo Goals. She is a true lifelong local and has been photographing in the area for over a decade. She serves families from Parkersburg, WV to Marietta, OH. Lori is also a Click Pro Elite and Click Community Mentor. When she’s not capturing pictures or spending time with her kids, she enjoys organizing her lists and spending time on her family farm.


